I pulled out binding for quilts the other day and of course found quilts awaiting….
This is a baby quilt I made just to use up fun scraps, probably was to be a post here or eBook???? Have NO Clue. What or Why I made it…maybe the fabric?
Where do you keep your what needs finished quilts? I have tubs I am NOT ready to share how many tubs….but I will share….I have drawers full too !
Tuesday Thread my Quilts
Strips are cut 1 1/2″ and I did the piecing on a sewing machine.
I’m always on the look out for old quilts and IF I think I can save them I purchase them. They have to be washable and usable, nothing better to me no matter the temperature is a quilt to cuddle in. This is the Quilt AFTER, I am sharing this from my Quilt Ladies site, this post is NUTS on Pinterest !
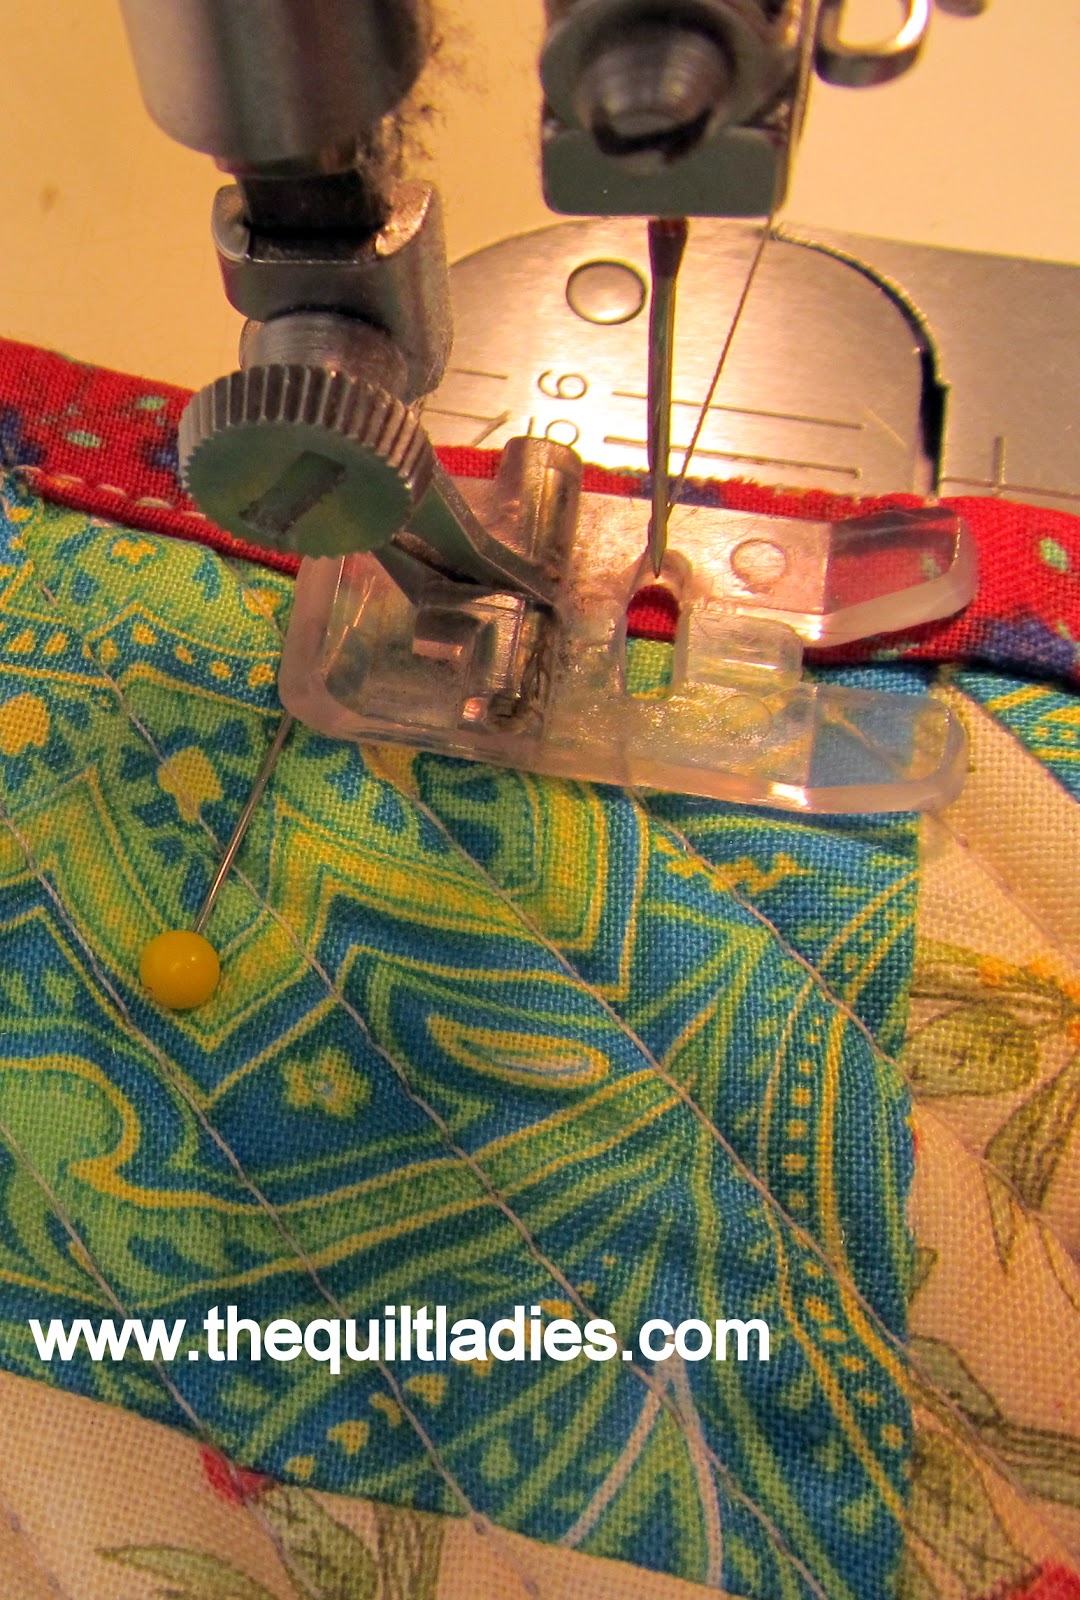
Bring the quilt backing to the front and using it as your binding, I am bring this over from The Quilt Ladies, this post is used and asked for all the time, Thank you for that.
Just a few days ago I received this comment on my original post:
from Helen:
After reading the tutorial 3 times I committed to try it. It worked perfectly. I just followed the instructions and it worked on a table runner. This method stops so much waste of material.
Iron over your edges, 1/8″ to 1/4″ and Press in, do about 2-3 inches, enough to hold and pull through
Do both sides/edges
Lay your started binding down, pressed side up. Take your Holding Strip and lay on top, Pin into your ironing board cover next to the bias tape.
Pull the bias tape
And, with a hot, dry iron press, at first do a bit, and lift iron, pull and iron.
As the tape becomes longer you can leave the iron and pull slowly. (Other side view)
Pull tape slowly
Good side of bias tape.
I like to roll mine to keep it until I’m ready to use it. I learned this years ago from a Home Eco. teacher in the 70’s No need to buy a machine to do this for you ! But, you can if you like !
See All my Quilt Ladies Patterns at my Etsy Shop
Thank you for supporting my Etsy shop and my Quilt Ladies Book
How to Tie a Quilt with Yarn To tie a quilt is a quick way to finish a quilt which is to be loved and used. As with everything, there are a few ways of doing a tied quilt, this is the way “I” do it.
This may seem a bit strange, but I love the colors in this dress, it’s from a Vogue magazine probably 6-8 years ago, (LOVE IT) and it’s how I picked the colors for my quilt B. Annie
This quilt post has been used and shared of years it really does work.
I do have to say that after all these many years, I don’t over think color anymore. I have used some real dog of fabrics and when it’s all together…the quilt seems to work on it’s own.
Welcome to my Tuesday Threads: Quilt How-To with The Quilt Ladies! Every Tuesday, I’m sharing simple, step-by-step quilting techniques straight from my sewing room to yours.
I have so many brand new to quilting or if you just want a quick refresher, these posts are here to help. Grab your fabric, pour a cup of something cozy, and let’s get stitching, one technique at a time!
I am starting with pressing because I see SO many new quilters pressing as they would IF you were sewing a dress, with quilt blocks you do NOT press the seam open, you press to the darker fabric and here is why. NO Steam, a hot, dry iron.
press your quilt block to the darker fabric, here the redseam opened and how the nest into each other
When you press both layers of fabric and the seam allowance all to one side, you’re giving that seam more fabric layers to support it. This extra layer of fabric over the stitching line helps protect your thread from wear and tear over time.
As your quilt gets used, loved, washed, and tugged on, the seams take a lot of stress. By pressing to one side, you’re wrapping that stitching line in a little fabric shield. The thread sits just under the fold, with fabric on top of it and underneath it. This extra cushion means the thread is less likely to snap or break down over the years.
Press to the Dark Side… Always (Well, Almost Always)
I HOPE you have heard this rule a hundred times: “Press your seams to the dark side.” But why?
It’s not just some old quilting superstition. There’s a real reason for it!
When you sew two fabrics together—especially a light fabric next to a dark one—the seam allowance can show through the lighter fabric if it’s pressed the wrong way. This is called “shadowing.” Nobody wants to finish a quilt top, hold it up to the light, and suddenly see dark seam lines peeking through those lovely light fabrics.
By pressing your seam allowance toward the darker fabric, you’re tucking that extra bulk safely under the dark side—where it stays hidden.
Press, Don’t Iron: Up and Down, Not Side to Side
Now let’s talk about the motion of pressing. When you’re at your ironing board, it’s tempting to treat your quilt block like a wrinkled shirt and slide the iron back and forth. But don’t!
In quilting, you want to “press,” not “iron.”
That means setting your iron down straight onto the fabric, holding for a few seconds, then lifting it up and moving it to the next spot.
Why?
Dragging your iron side to side can stretch the fabric, especially along diagonal seams (the bias). This leads to wonky blocks, wavy edges, and points that don’t quite match later.
This a little thing, but the pressing of the quilt block the right way can make your quilt pop just a little more, and last a bit longer.


 DO NOT cut yarn, travel to next knot and repeat.


