Let’s do some hand piecing of a quilt block

I hand piece or hand quilt EVERY Monday at my small group quilting group. Really…I’m just to lazy to get my sewing machine carried in and set up, plus then I couldn’t walk over. A new member arrived last Monday and she asked LOTS of questions about hand piecing.
So, I’m re-posting my basic hand piecing class
I feel all quilter’s should at some time do hand piecing, I know you think I’m nuts, but it brings me back to the tradition of what quilters are all about. I try to do one every year or so. Your piece need not be a huge project, but please, try it.
This is my travel quilt box, would you believe it’s an old Ethel M Chocolate box from Las Vegas about 35 years ago. It has everything but scissors, you just can’t travel with them anymore. I have gotten into the habit of keeping it all together. This box has been on many vacations, fishing trips and even at baseball/football games in many towns, when the boys still lived with us.
 Cut an assortment of fabric,
 For one block you will need
8 – 1 1/2″ x 1 1/2″
and
4 – 2 1/2″ x 1 1/2″
I just cut a pile of each and put the colors together as I piece.
Mark a 1/4″ seam line on fabric back, I use a ruler and pencil.
Knot your thread and do a rocking stitch. After a bit you will not need the line, notice my thumb,
I use it as my measurement guide, some add a mark on their nail, but I don’t like messing up my nails, aka manicure !
I use a thread about 18-20 inches long and string piece, knotting at the beginning and end of each block. Finger piece them open.
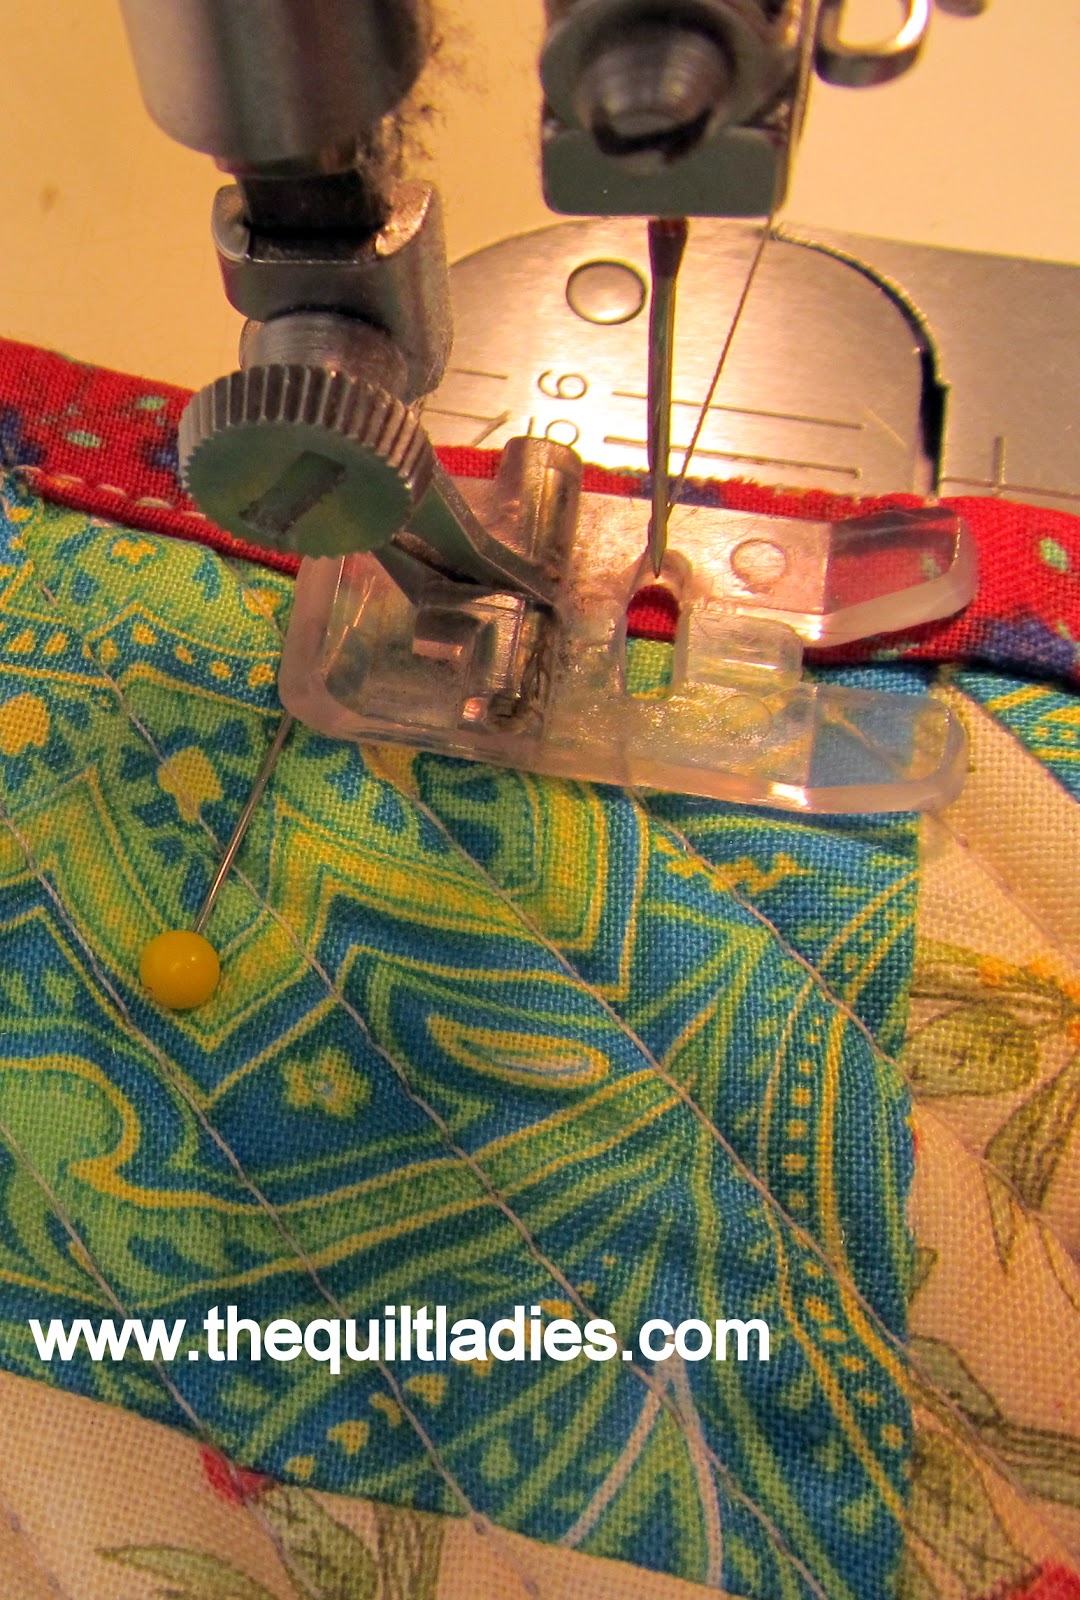
Draw seam line if needed. Place good fabric to good, pin and sew.
Open and finger press. Add 2 1/2″ x 1 1/2′ to side.
Draw sewing line, Pin and sew on line,
Finger press to the outside.
Take 2 1/2″ x 1 1/2″ and draw sewing line on each end, sew to 1 1/2″ x 1 1/2″ Do 2 times.
Draw seam line if needed. Place good fabric to good, pin and sew.
This is the back of my hand pieced block.
Two finished blocks, each block has a finished size of 4″
Take some time, don’t take it all too serious, pick a comfy chair, good light and just have some HAND piecing fun.

Thank you for supporting my Etsy shop and my Quilt Ladies Book
Like this:
Like Loading...


